Meet us at WordCamp | ShopTalk | DrupalCon Conferences to explore our solutions. Know More
Joomla LDAP configuration
Step 2: Configure miniOrange Joomla LDAP plugin.
- Now, go to components and then select Miniorange LDAP to go to the configuration page of the plugin.
- In the Configure LDAP tab, save the following information:
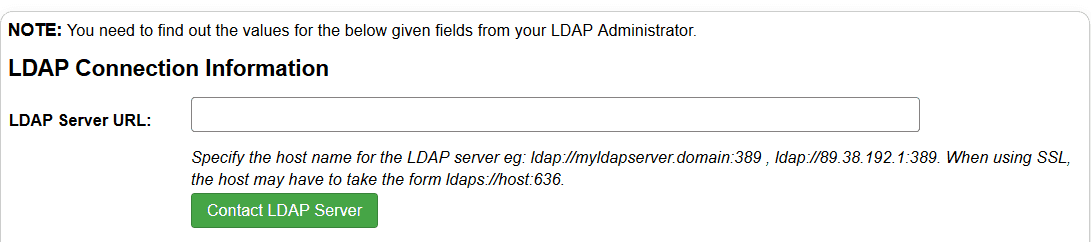
- Enter your AD Server URL and click on the Contact LDAP Server button to test your connection with your LDAP server.
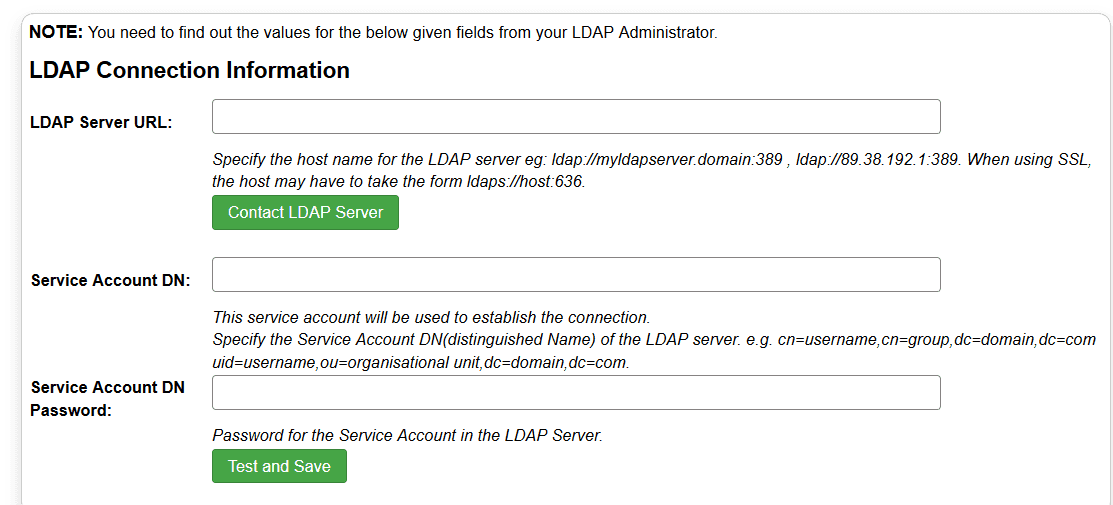
- Enter your Service account username and password and save it under the Service Account DN and Service Account Password text fields. Click on the Test and Save button to test the binding with your AD.
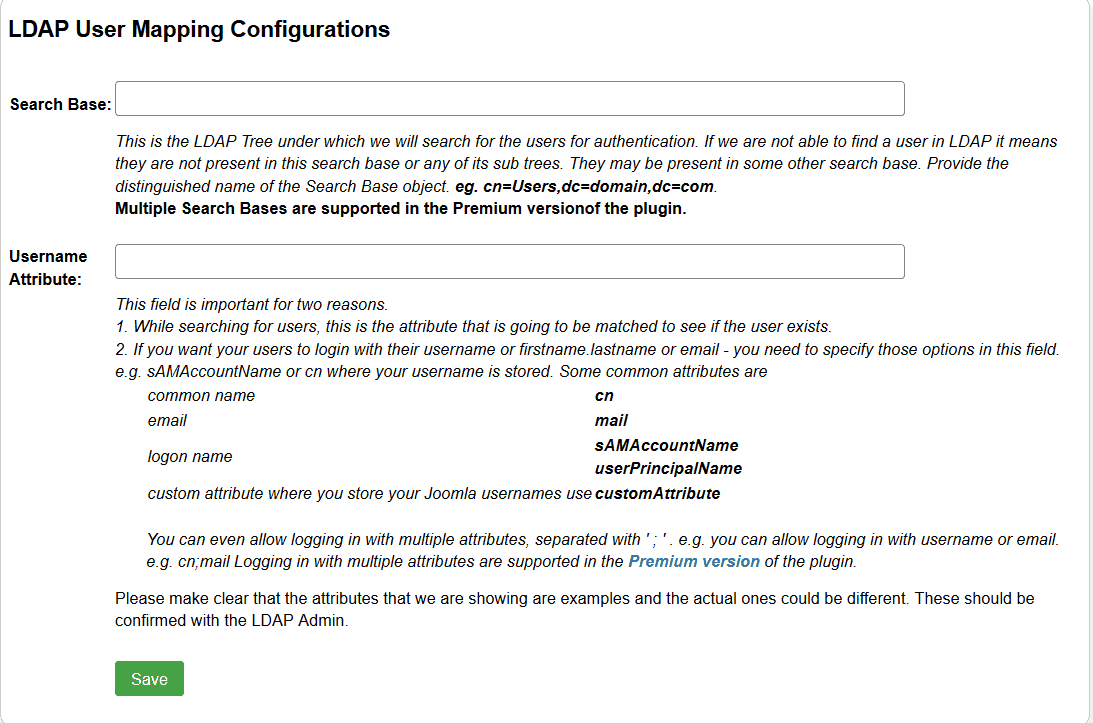
- Under the User LDAP Mapping configurations enter your Search Base(the LDAP tree in which your users will be searched) and your Username Attribute (the value with your user will be searched in the AD). Click on the Save button to save your settings.
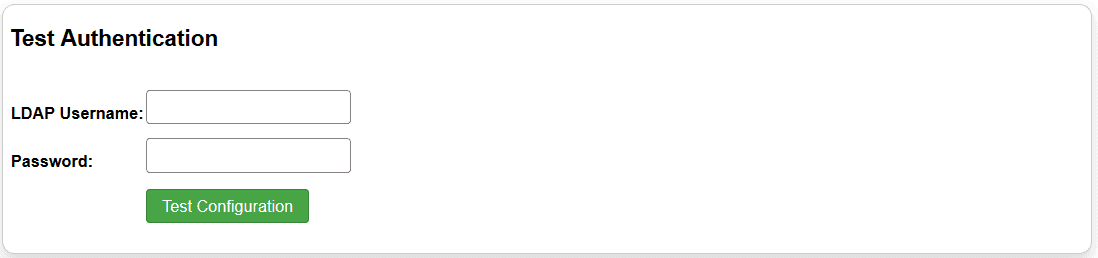
- Under the Test Authentication section, you can enter your AD server’s username and password to test your connection and authentication with the LDAP Server.
-
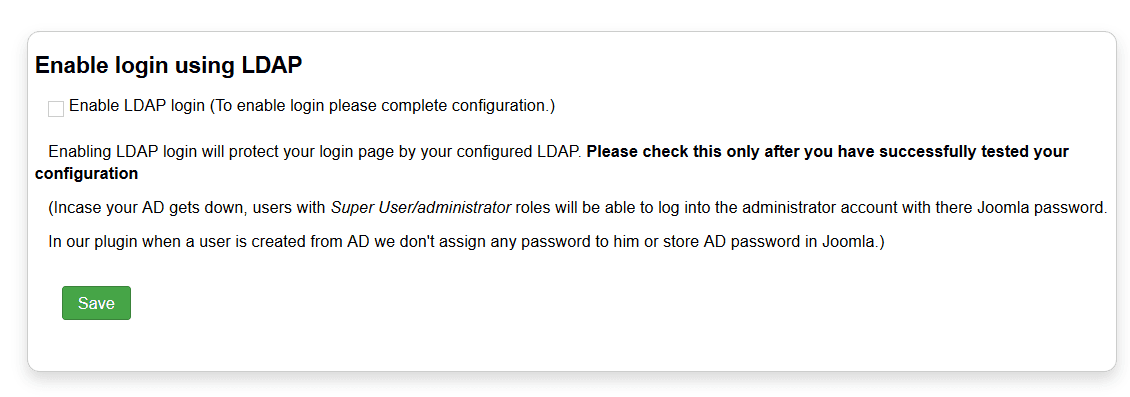
- Select the Enable LDAP login checkbox to enable login using LDAP. Click on the Save button to save this option. You can enable it only after configuring the plugin configuration.
- In case, you are facing some issue or have any question in mind, you can reach out to us by sending us your query through the Support button in the plugin or by sending us a mail at [email protected].
-
Congratulations, you have successfully configured the miniOrange LDAP plugin with your Active Directory.
Hello there!
Need Help? We are right here!
