Meet us at WordCamp | ShopTalk | DrupalCon Conferences to explore our solutions. Know More
Social Login into WordPress | Configure WordPress Social Login
Step 1: Configure WordPress Social Login:
 Download and install miniOrange Social Login, Social Sharing
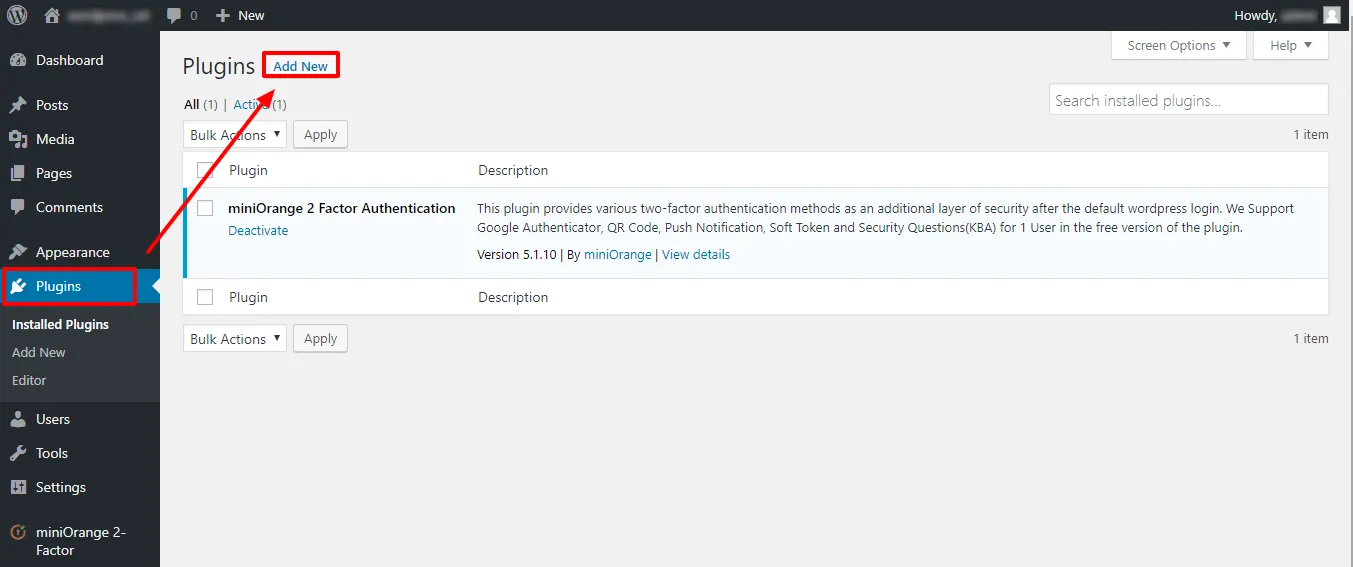
- From your WordPress dashboard
- Click on PluginsAdd New tab.
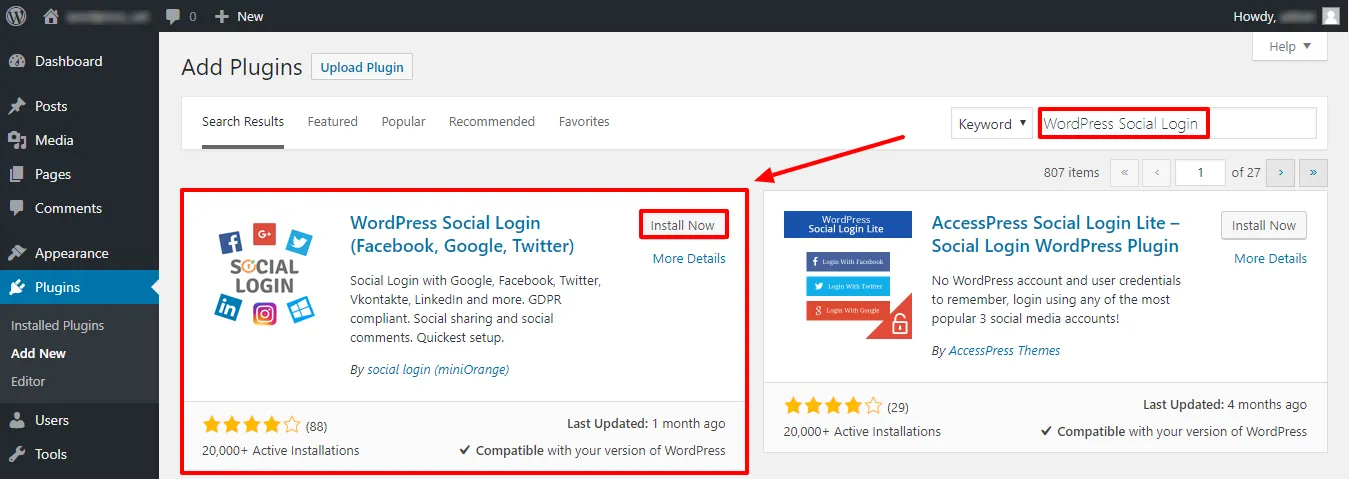
- Search for WordPress Social Login. Install miniOrange WordPress Social Login.
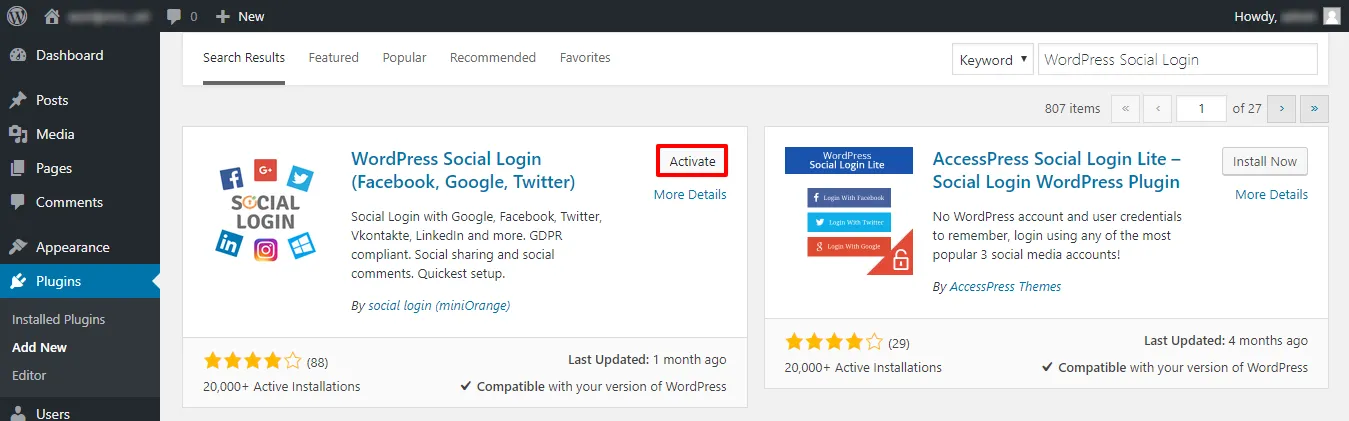
- Activate Social Login, Social Sharing by miniOrange from your Plugins page.
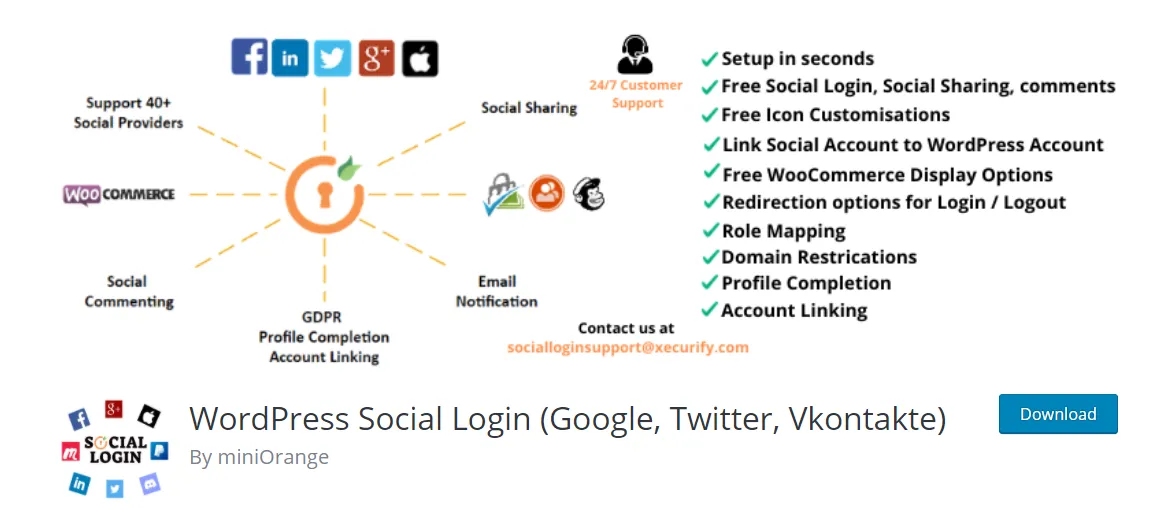
- Download Social Login, Social Sharing by miniOrange.
- Unzip and upload the miniorange-login-openid directory to your /wp-content/plugins/ directory.
- Activate Social Login, Social Sharing by miniOrange from your Plugins page.
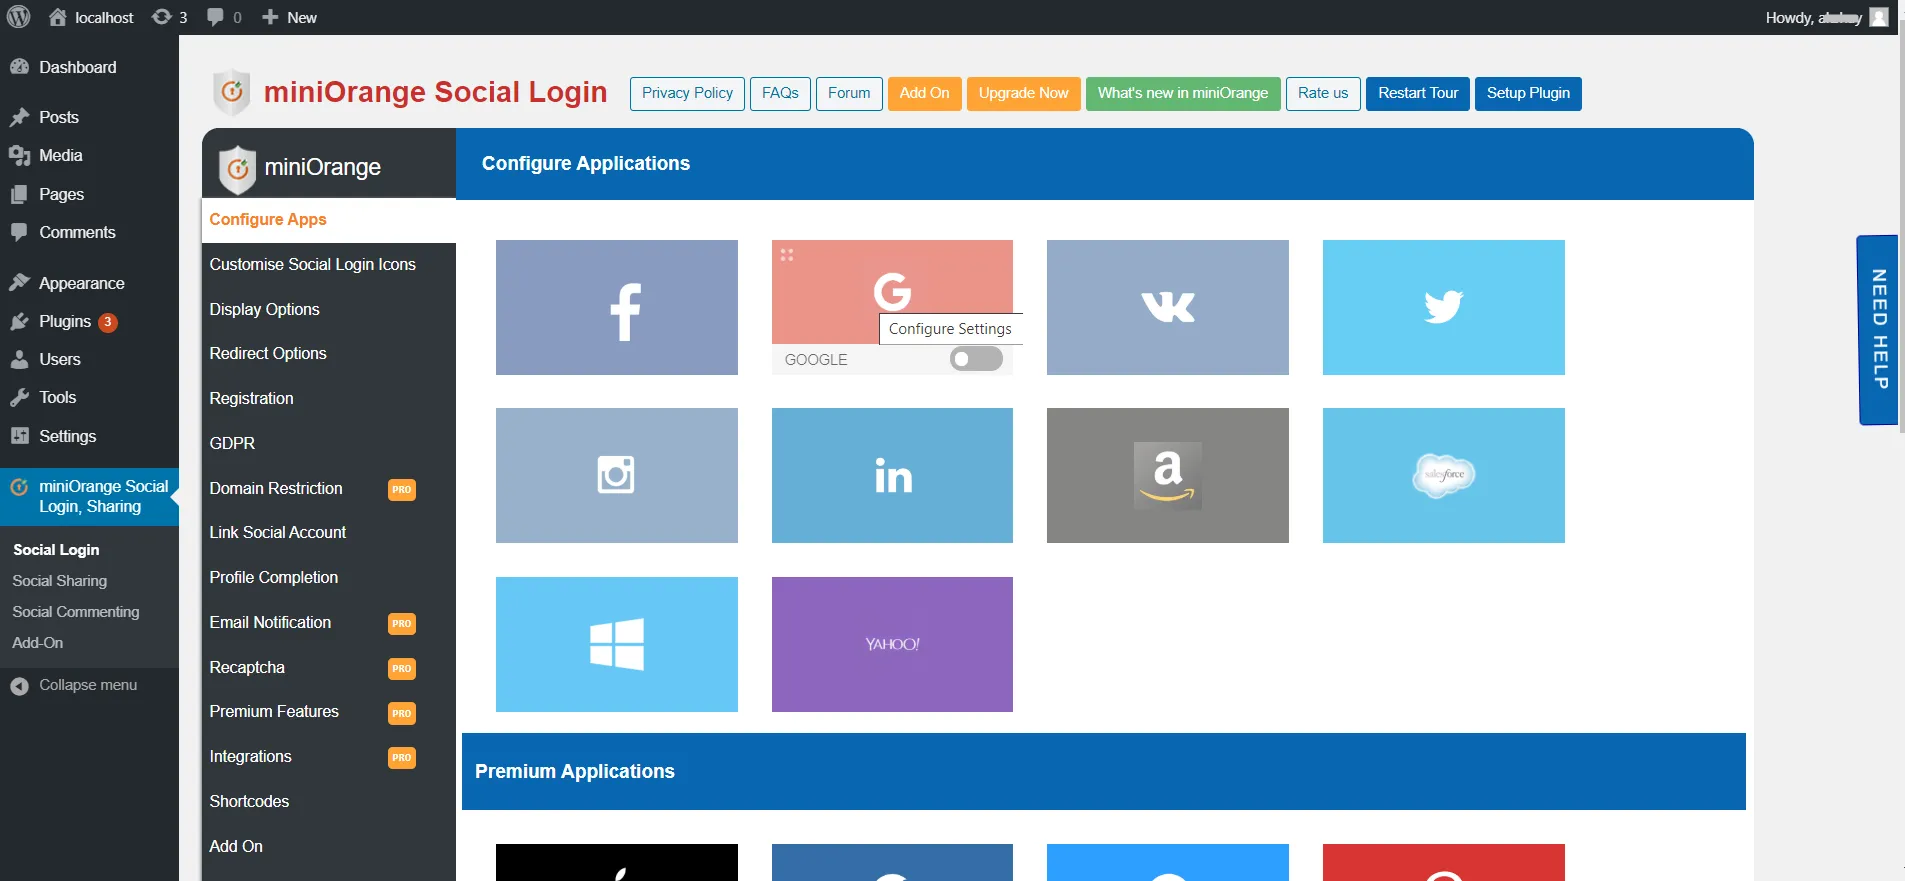
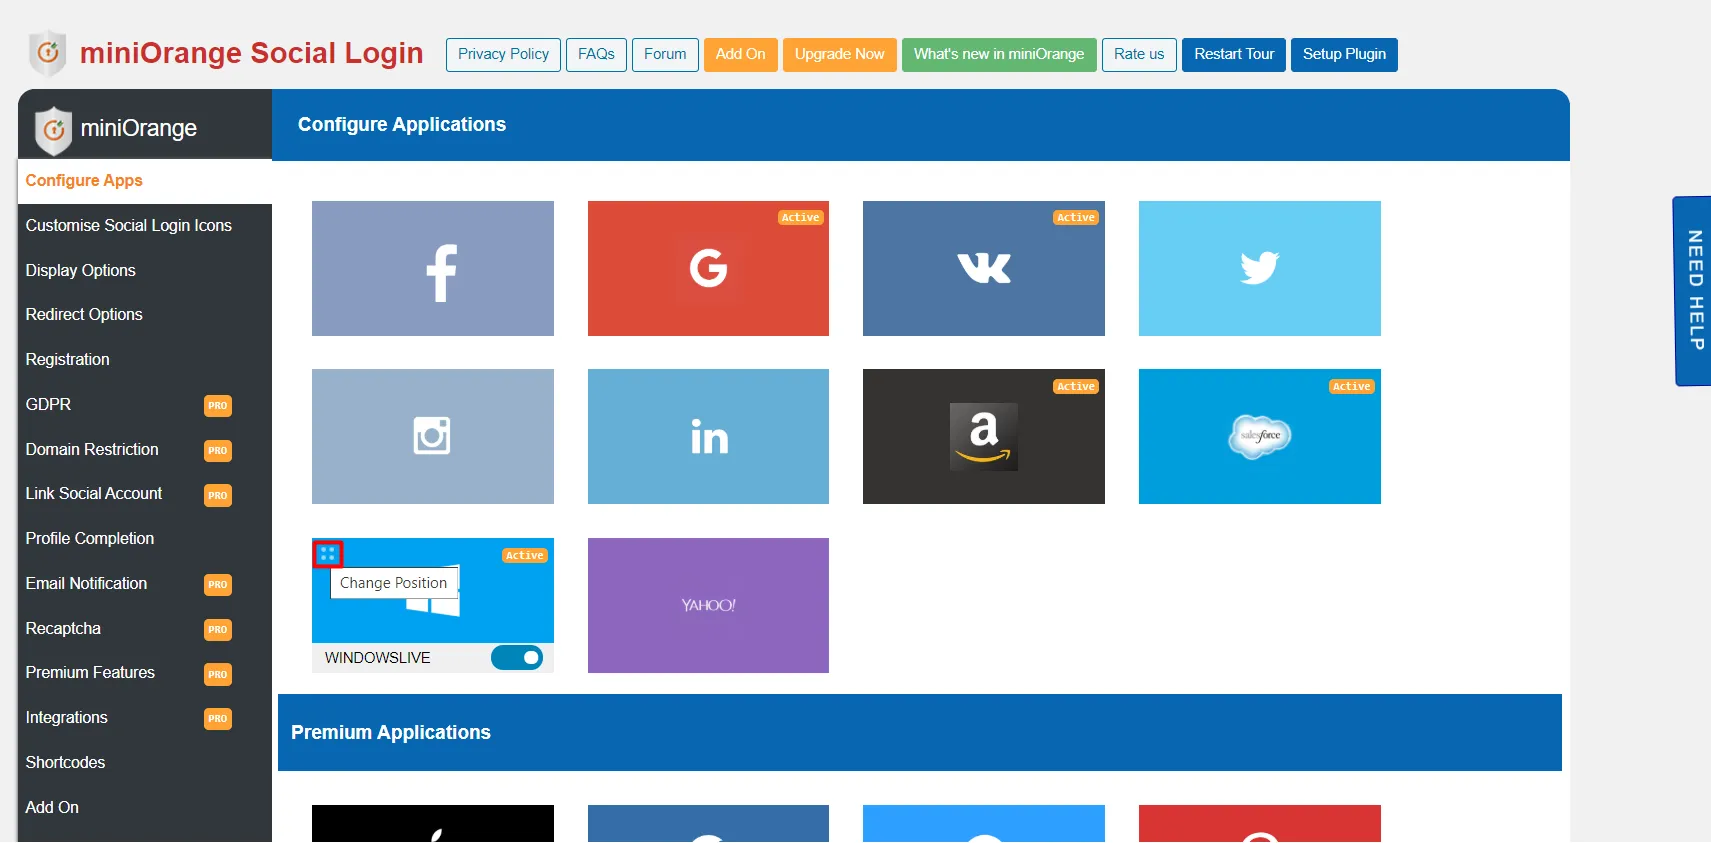
Step 2: Select Configure Apps
- Select Social Login apps that you want to integrate with your website.
- Click on any Icon. Please register with us to use miniorange pre configured app.
- There is the option for Register and if you don't want to register and set up my own custom app.
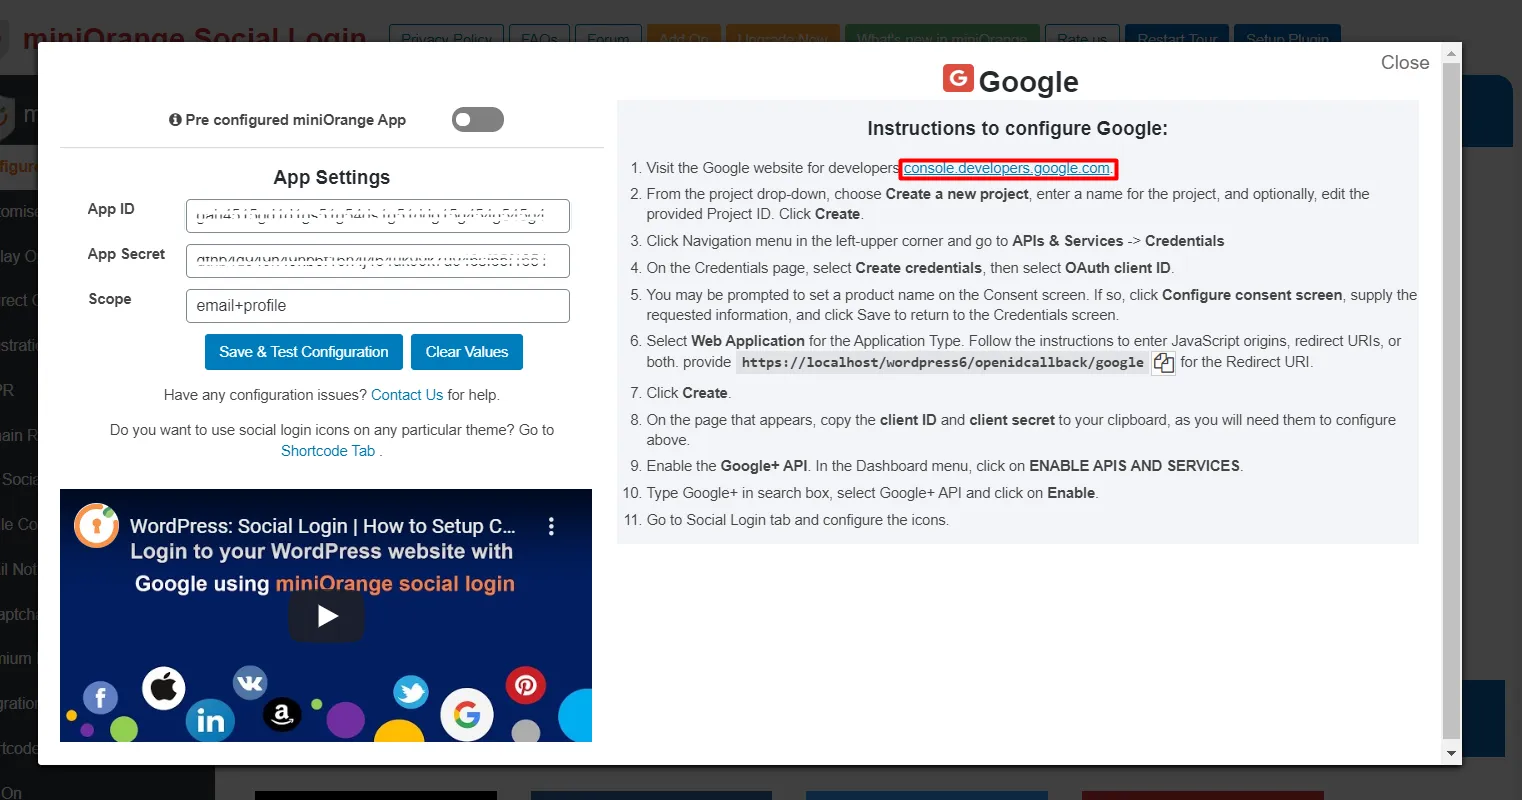
- Go through instructions to configure custom app.
- Go on,link you will get on app developer page. After the settings App on End step will get Client Id and Client secret. get your App Id and App secret and paste on following field.
- Click on Save&Test configuration. if Test configuration get successful that mean you has setup custom app properly.
- Now go to,Social Icon. Now you can see that custom app active.
- You will get option to enable and disable app.
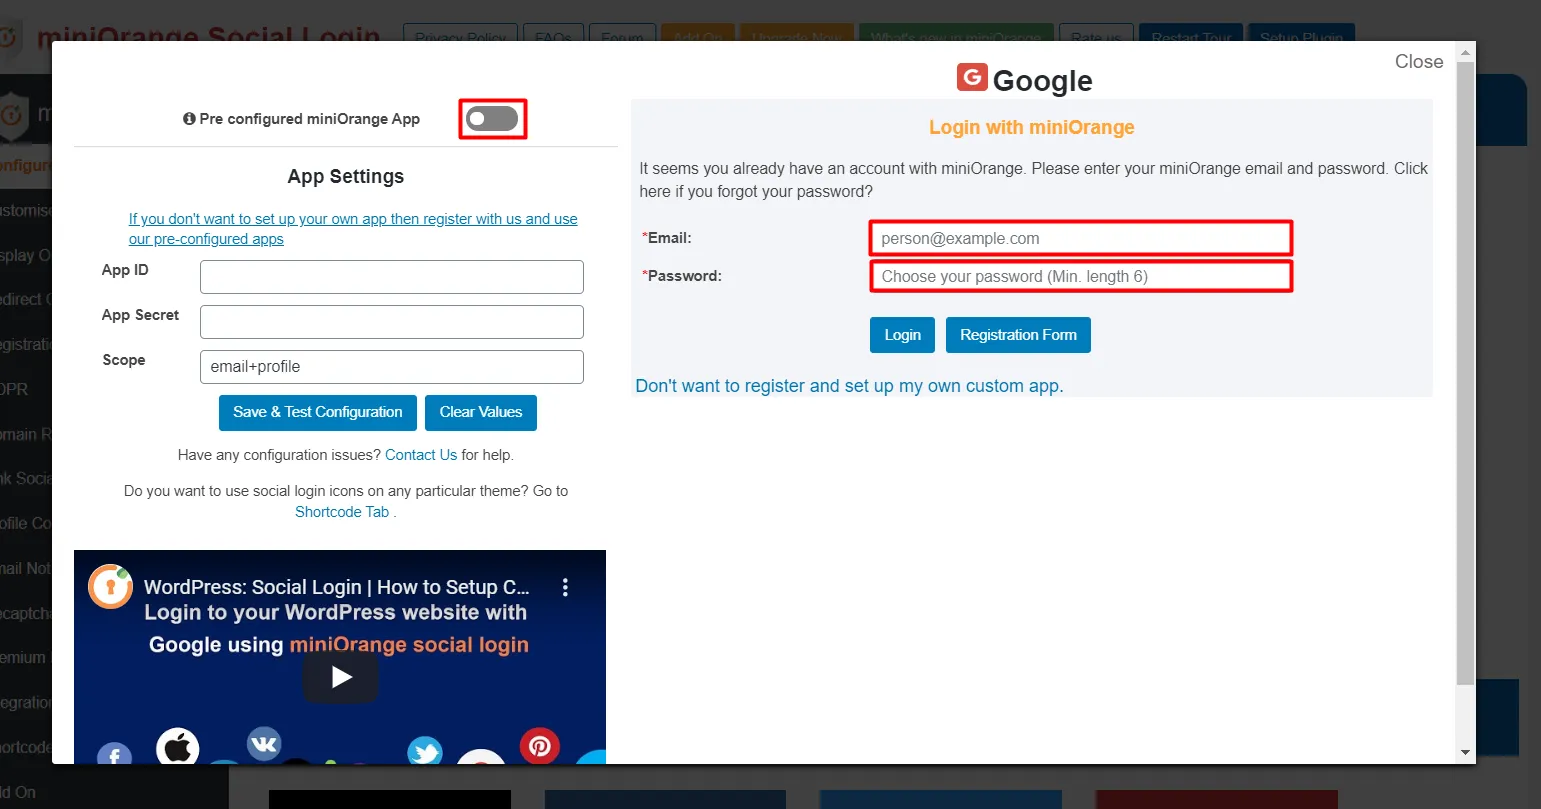
- Now click on another app to pre configured. Please register with us to use miniOrange pre configured app.if already have an account then get login with miniorange.
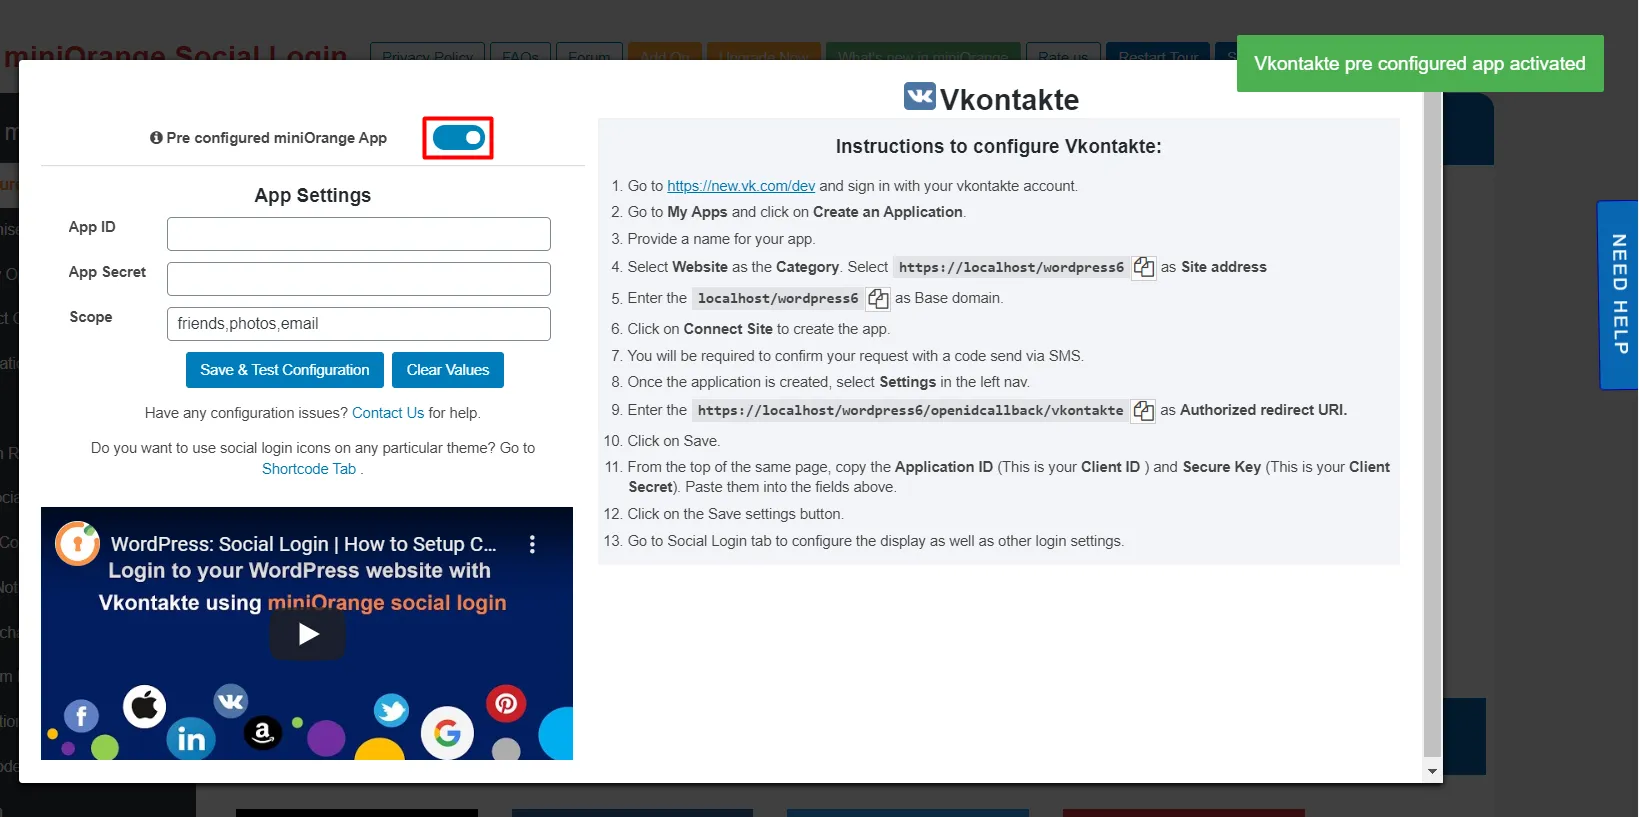
- Enter your credentials and click Login. Now pre configured option enable.
- Go on the social icon. Now you can enable any app without any custom setup.
- Here,you can change app position in your requirement
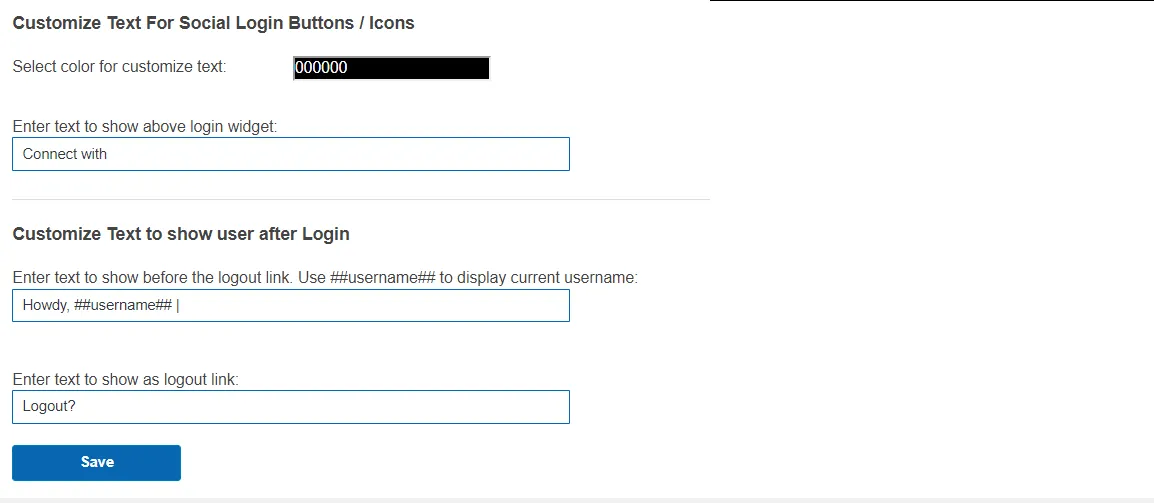
Step 3: Select Customize Login Icons
- Now go on Customize Login Icons Tab.
- Here will get preview your app position as you have set. Select any shape for your icon.Click custom background option you can select different color format.
- You can also increase size of icon and get space between them.
- Below,Customize text for social login buttons. You can also edit text show about login.
- Customize text to show user after login. Text before the logout link. Save
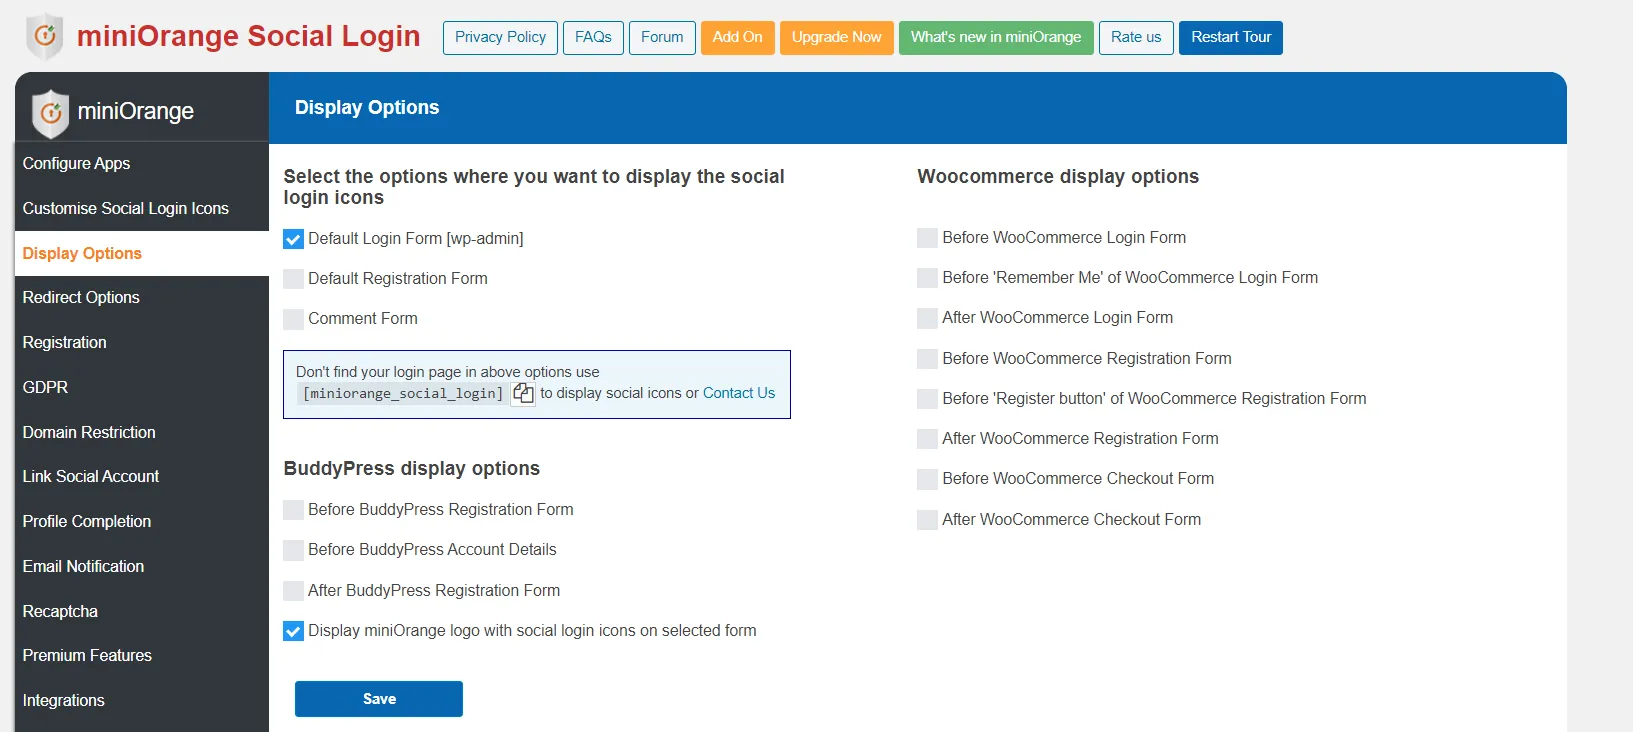
Step 4: Select Display Options
- Here select any form for which you need to display social login icon.
- We provide BuddyPress display options.
- select position of social login icon on BuddyPress Registration and login form
- We also provide Woocommerce display options.
- select position of social login icon on Woocommerce Registration and login form.click on save button.
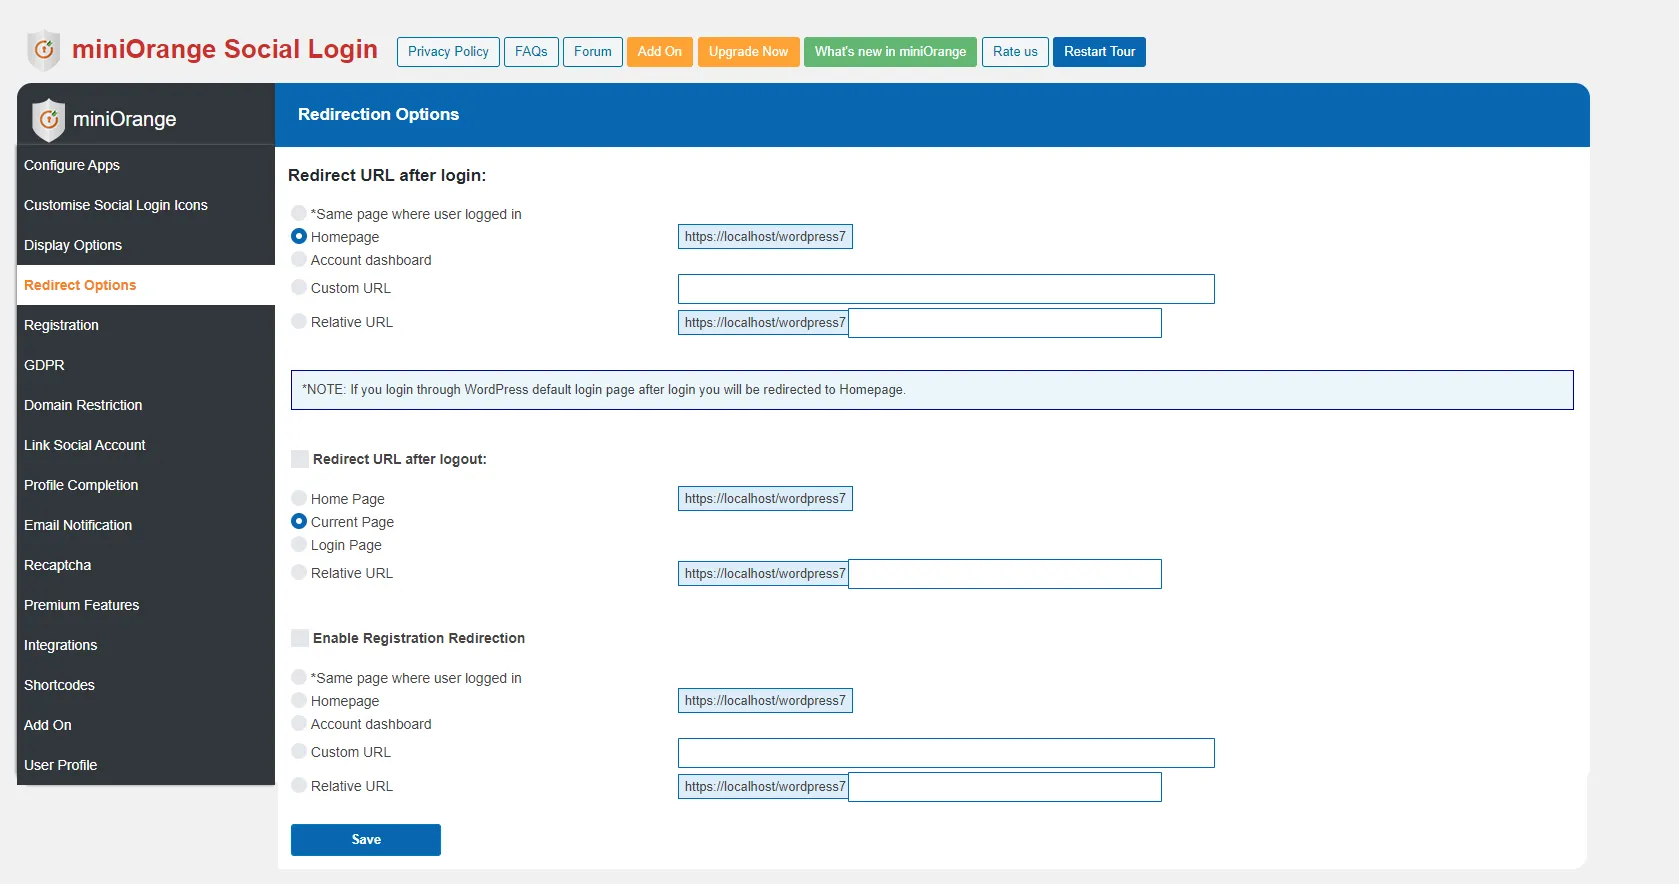
Step 5: Select Redirection Options
- Redirect option use for redirect user after login/logout on a specific page.
If you don't find what you are looking for, please contact us at [email protected] or call us at +1 978 658 9387 to find an answer to your question about Wordpress Social Login Plugin.
×
![]()
Hello there!
Need Help? We are right here!
